You may have heard that making coffee using the pour-over technique can be difficult and time-consuming.
Table of Contents
What is pour-over coffee?
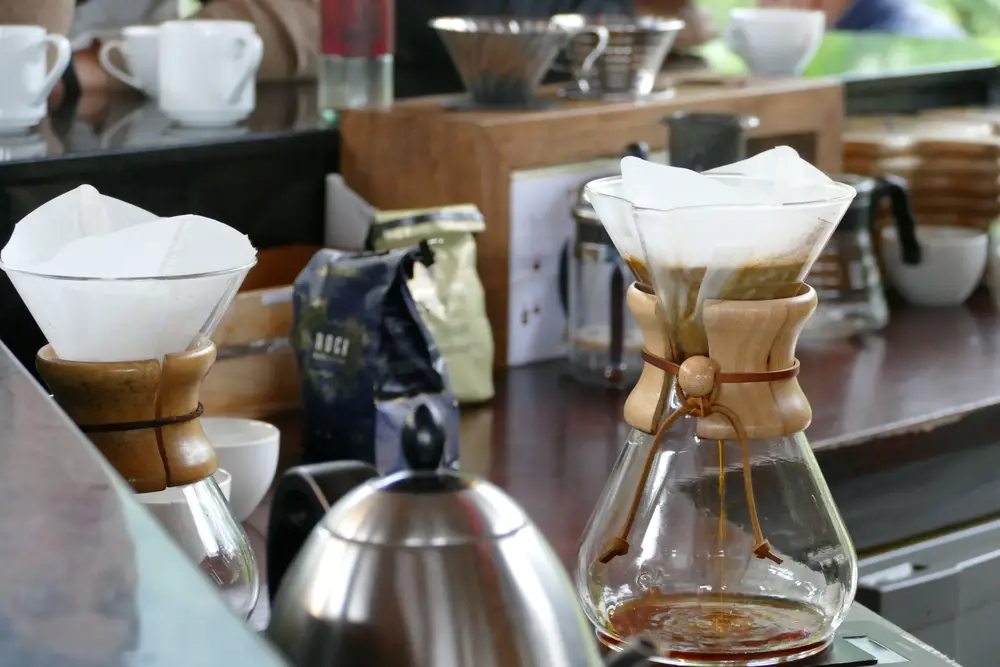
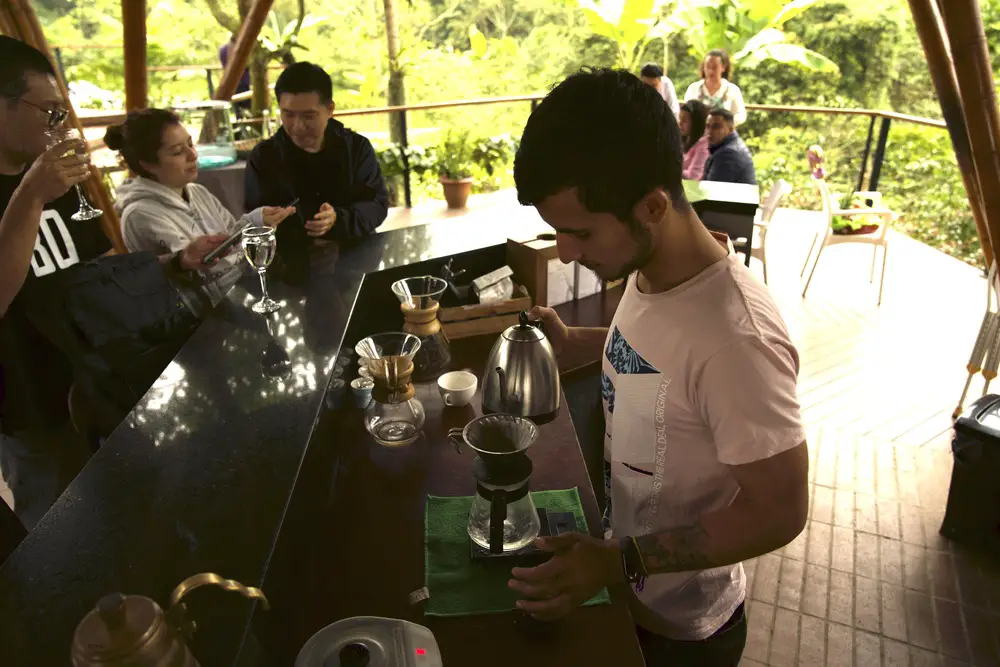
In coffee bars, you may have seen baristas constantly pouring hot water in circles over the ground coffee.
In this process, known as “pour-over coffee,” hot water is poured over the ground coffee to extract the aromatic substances contained in the beans.
The pour-over method is one of the most complex ways to brew coffee. While not difficult, it does require concentration and technique.
That’s because the manual pour-over technique gives the barista full control over the process of extracting the coffee aroma.
This gives the barista (and soon you too) multiple ways to bring out different flavors in a single cup.
Pour hot water over the coffee to enhance the subtle and flavorful notes. There is less risk of the coffee leaving a bitter aftertaste in the mouth.
Why is the casting technique so important?
Brewing coffee with a pour-over (such as a dripper) gives you a very different coffee than brewing by immersion.
For example, preparing a coffee using the immersion method is characterized by the fact that the coffee grounds are left to settle in the water for a few minutes, which leads to a relatively simple extraction of the oils and aromas from the coffee beans.
When preparing coffee using the pour-over method, on the other hand, the water constantly falls down when pouring over the ground coffee, which leads to a different type of extraction.
Therefore, with the pour-over method, fresh water is constantly poured over the coffee, reducing the brewing time and giving the drink a purer taste.
However, if the casting technique is not good, it can lead to an annoying problem called channeling.
So, channeling means that the water forms channels where it has the least resistance. This results in a different proportion of the coffee grounds not being reached by the liquid.
Rather, a large part of the coffee grounds remains dry, so that the water does not release the natural aromas of the coffee there (no extraction).
Because of this, the coffee that results from this poor pour-over process is an unbalanced drink. It may have low extraction and acidic coffee flavors. But at the same time, increased extraction of the bitter flavors can take place in the areas where the water gets.
If the coffee is not poured properly, it will have an unpleasant taste.
The only way to solve the problem of channeling is to use the proper casting technique.
To do this, we need to pour a steady stream of water over the coffee grounds in a slow, circular motion.
To carry out the casting technique you will need the following tools
- Kettle
- Scale
- Coffee filter holder
- Coffee filter
- Coffee mug
- Ground coffee
Mastery of the 3 phases of the casting technique
If you have the tools already mentioned, you must also master the 3 phases that make up the preparation of this filter coffee.
Pre-infusion phase (flowering period)
Coffee bloom is the appearance of foam and bubbling during the brewing process resulting from the addition of water to the ground coffee (although sometimes it is not visible).
So, efflorescence mainly means the release of CO2 and some oils from the ground coffee as the water starts to penetrate and displace the gas.
Blooming is the initial contact between water and coffee grounds, which triggers various chemical and physical changes in the coffee grounds during the brewing process.
It is therefore important to ensure that all the coffee powder is saturated, ie well soaked with water, so that there are no dry spots.
It is therefore recommended to pour twice the amount of water in relation to the amount of coffee.
Therefore, gently pour the water in a circular motion from the center to the edges.
This way you can ensure that all of the coffee grounds are evenly covered.
Casting phase
When the flowering phase is complete, it’s time to pour the water over the coffee for the second time.
This is where the actual casting process begins, and that’s why it’s important that you master good technique.
Therefore, we will show you below how to fill the water correctly.
Pour in slow circles
When watering, repeat the circular motions you used in the flowering phase.
Then start pouring the water from the center, gradually working your way towards the edges of the dripper until all of the coffee grounds are evenly saturated.
Be extra careful in the middle
It should be noted that the coffee will tend to settle in the middle due to the conical shape of the dropper.
Therefore, be sure to pour more water in the center and less on the sides when making the circles.
Avoid water on the edges
Be careful not to let the water hit the edges of the brewer as it will likely not touch the coffee and will just wet the walls of the filter.
Slowly and gently
“Slowly and carefully” is the formula for successfully dousing water. Make sure the water drips onto the coffee with gentle movements.
Do not rush.
Watch your scales
Remember that the practical density of water is 1 (or very close to it) so the weight in mg should be roughly the same as in ml.
So, if you use 250ml of water, for example, you can assume that the weight of that water is around 250mg.
This allows you to weigh the volume of water as you add water to the coffee, giving you a frame of reference for the amount of liquid used.
Final stage
The last seconds of pouring should be in the middle of the coffee grounds.
The reason for this is that there is more coffee in the middle than on the sides. It is therefore recommended to rinse the sides during the last seconds of pouring”.
What is that supposed to mean?
Side rinsing directs the flow of liquid to the sides of the filter, using as little water as possible, to flush away coffee grounds stuck to the walls.
So, the “side rinse” aims to reach the coffee grounds that are “high and dry”, that is, the coffee grounds that are stuck to the sides of the filter and therefore not well saturated.
Remember: if the soil isn’t saturated, it won’t extract or will extract only minimally.
How do you know if the pour over was done correctly?
Once the process is complete and all the water has drained out, you should see a flat bed of coffee grounds laid evenly on the bottom of the filter.
If this is the case then this is a good sign that the watering process was done correctly as it indicates that the soil has been evenly spread and drained.
On the other hand, if you notice that the floor is uneven, this could indicate that the technique was not optimal.
What does an uneven floor mean?
If the coffee grounds look uneven, it means one side of the coffee bed is higher than the other. This is because the water was not poured onto all surfaces with the same force.
This will happen to you quite often, at least as long as you learn the technique, but don’t worry, there is a solution.
One way to avoid uneven floors is to use gentle pouring motions, being careful not to let the water fall with great force to one side or the other.
Pulsed pouring versus continuous pouring
If you have previous experience with the casting technique, you are probably already familiar with these two concepts.
If not, you should pay close attention because this information is essential for a good preparation.
Pulsating pouring
In impulse watering, a certain amount of water is poured several times. This makes it easier for you to experiment with the amount of water and the number of pours.
In addition, with impulse pouring you can reduce the risk of channels forming on the bottom and the bottom rising up the sides of the filter.
If you pour the water several times, you improve the circulation of the water, which creates better contact between the liquid and the coffee.
Therefore, an impulse pour serves to shorten the extraction time, allowing for more control over the flavors you’re trying to bring out.
In other words, with an impulse brew you get a coffee with a more varied flavor.
Continuous dousing
In contrast, continuous pouring is a technique in which the water is poured constantly and without interruption.
The goal is to maintain flow and saturation for as long as possible.
The aim is to achieve a homogeneous flow.
In this way, a continuous pour allows the flavors to be extracted for longer, resulting in a more stable and less complex taste.
The pros and cons of brewing coffee using the pour-over method
Each coffee method has its pros and cons, so now we will briefly mention the pros and cons of making coffee using the pour-over technique.
Advantages of the pour-over technique
The main advantage of preparing coffee using the pour-over method is the strong and balanced taste of the coffee.
That’s because pouring over gives you more control over the brewing process, meaning you control everything that happens during brewing, not a machine.
However, if you prefer a milder coffee, pour-over may not be for you, in which case you can use other, faster brewing methods.
Disadvantage of the pour-over technique
The downside to pouring over is that while it’s not as difficult as it sounds, it takes time and lots of practice to master.
In addition, as we have already seen, without the right technique, it can happen that too much and/or too little is extracted at the same time, either by pouring too quickly or too slowly.
In summary
The main goal of pouring over coffee is to create an even and flat bed of coffee grounds, as this means that the water has been evenly distributed over the surface.
As a result, the aromas are optimally extracted, resulting in a balanced and tasty coffee.
It is also highly recommended to use good quality coffee as it makes for the best drink possible.